Planning to list your Midtown Key West home this winter? Buyers are most active here from late fall through early spring, and the right staging can help your photos pop and your rooms feel bright, calm, and coastal. You want a simple, practical plan that focuses your time and budget where it matters most. This guide gives you a step-by-step staging playbook tailored to Midtown, with an emphasis on light textures, outdoor living, and small upgrades that photograph beautifully. Let’s dive in.
Why winter staging matters in Midtown
Florida markets often see heightened buyer activity in late fall through early spring. Seasonal visitors and relocation buyers are searching online and touring in person, which means your listing can reach more eyes and generate stronger interest. To capture that early-year momentum, plan to have your home show-ready between November and January.
Winter buyers in coastal markets prioritize bright interiors, easy indoor-outdoor living, and low-maintenance finishes. Staging with those expectations in mind helps your photos stand out in the listing gallery and supports a smoother showing experience once visitors arrive.
Define the look: light coastal, not kitschy
Aim for a clean, airy aesthetic that nods to island living without heavy nautical themes. The goal is a subtle, modern coastal feel that looks great in photos and resonates with a wide range of buyers.
- Keep walls in warm neutrals or soft coastal tones like off-white, warm greige, or sandy beige, with muted aqua accents.
- Maximize natural light with sheer window treatments. Remove heavy drapes and dark throws.
- Use coastal textures sparingly: rattan, jute, woven seagrass, linen throws, and driftwood finishes.
- Maintain an indoor-outdoor flow by echoing accent colors on the porch or lanai.
- Edit decor. One or two statement pieces and a few well-placed plants are enough.
Room-by-room playbook
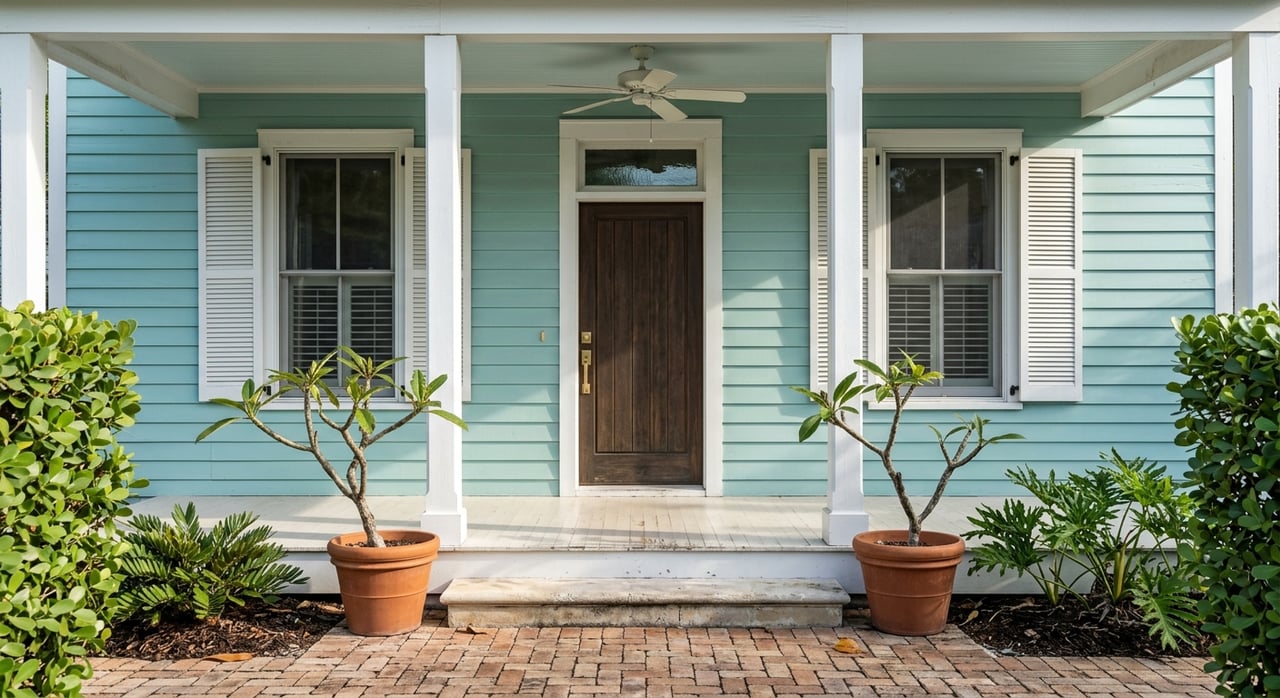
Entry and front porch
First impressions matter. Create a welcoming, low-clutter entry that frames a clear view into the home.
- Refresh the front door with paint that complements the exterior.
- Add a clean doormat and a salt-tolerant potted plant.
- If space allows, place a simple bench or a small chair to suggest a friendly, usable porch.
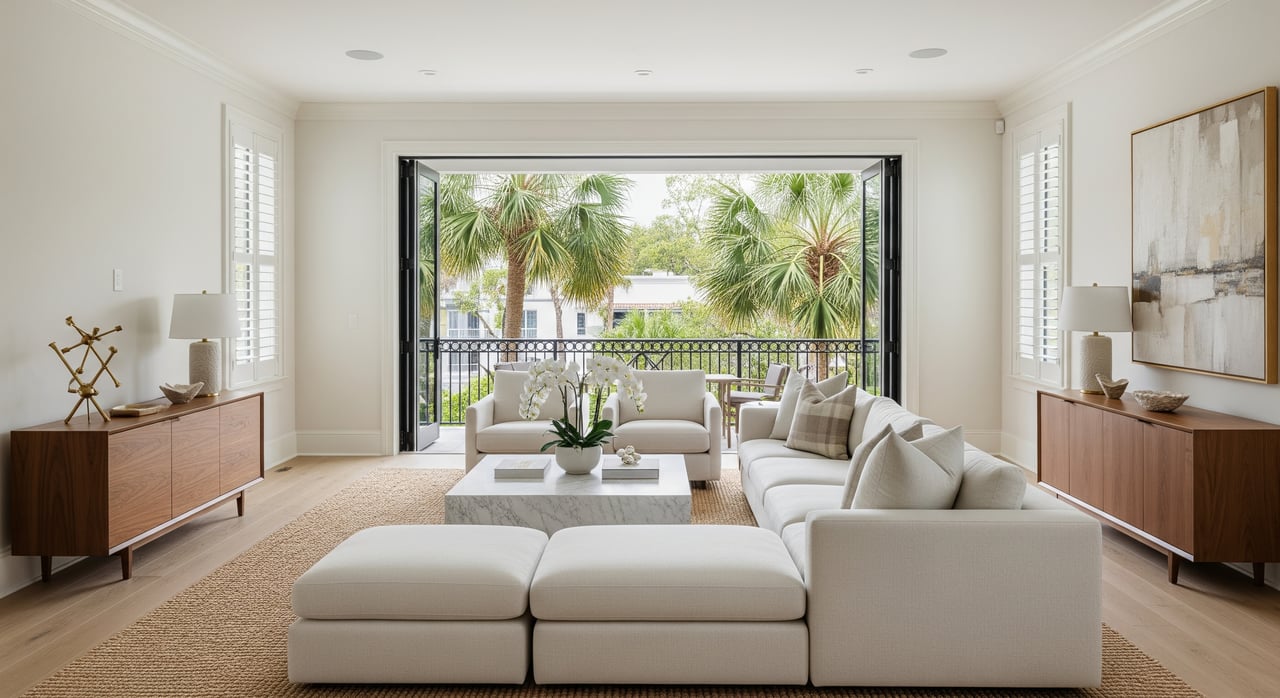
Living room
Set the tone with a bright, conversational layout that hints at the outdoor lifestyle.
- Float seating to emphasize conversation and sightlines to the yard or porch.
- Replace heavy curtains with sheers to lift and soften the space.
- Layer lighting with overhead fixtures and a pair of lamps to avoid dark corners in photos.
Kitchen
Keep it clean, simple, and photo-ready. Small changes go a long way.
- Clear counters. Store small appliances and personal items.
- Add a bowl of fresh citrus or a small vase for color.
- If budget allows, update cabinet hardware and install a modern faucet. These upgrades photograph well.
Primary bedroom
Make it calm and hotel-clean so buyers can picture a restful retreat.
- Use a neutral comforter with two main pillows and one accent.
- Add a folded throw at the foot of the bed.
- Keep bedside tables symmetrical and free of clutter.
Bathrooms
Nothing sells freshness like bright towels and tidy counters.
- Use crisp white or light towels and a small tray for soap.
- Replace worn caulk, clean grout, and consider a fresh shower curtain.
- An updated mirror frame can modernize the look in photos.
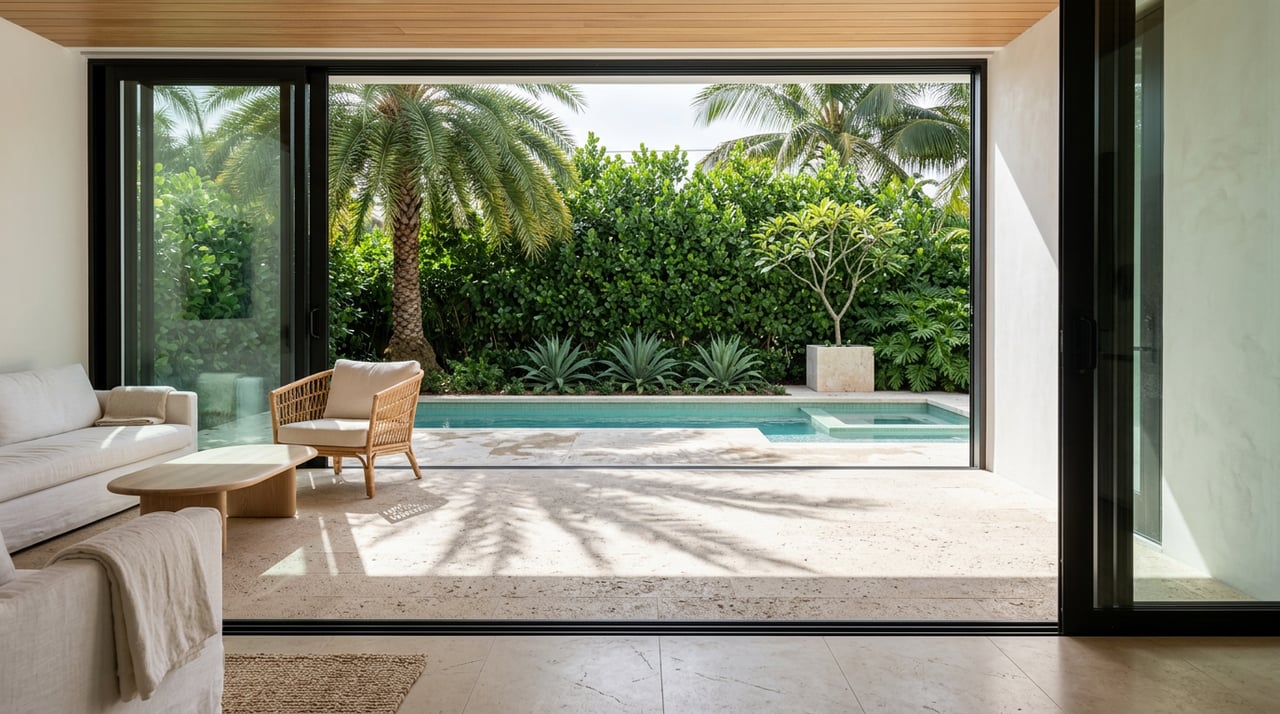
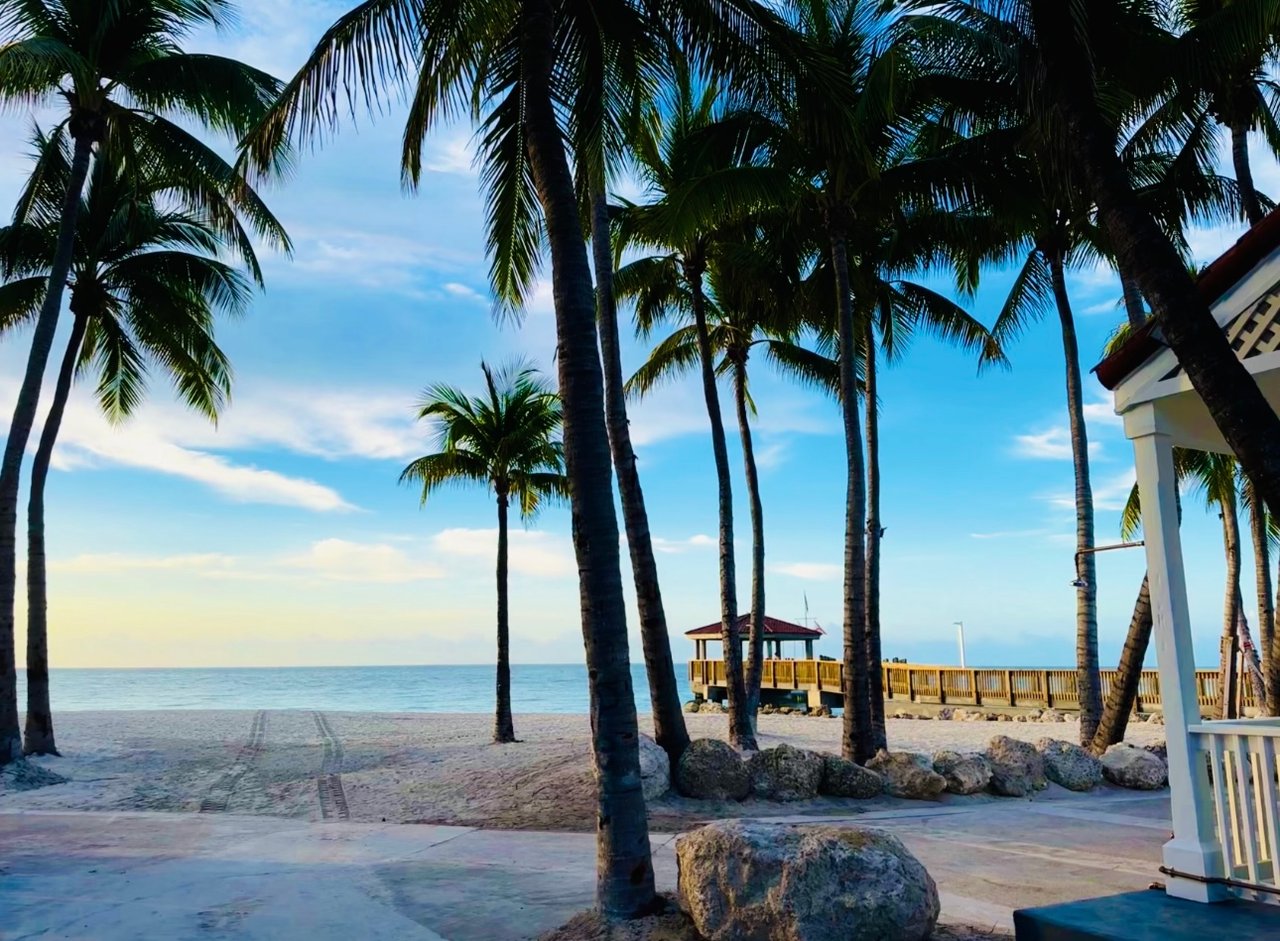
Outdoor living
Outdoor space is critical in Florida. Stage it as an extra room.
- Set up a small seating area on the lanai or porch with weatherproof cushions in neutral or coastal colors.
- Add an outdoor rug to define the area and connect it to the interior palette.
- Tidy landscaping, clear pathways, and consider subtle string lighting for evening photos.
- If there are water views or water access, remove clutter and clean any docks or sea walls.
Small upgrades that photograph well
If you want maximum visual impact with a modest budget, focus on a few high-ROI touches.
- Front door refresh with new paint and polished hardware.
- Simple, contemporary cabinet pulls and bathroom faucets.
- Brighter light fixtures or pendants to modernize main rooms.
- New outlet and switch plate covers for a clean, finished look.
- Fresh area rugs to define seating zones and add texture.
- Cohesive, neutral bedding with a couple of stylish pillows.
- Landscaping tune-up with fresh mulch and two potted plants flanking the entry.
- Power-wash driveways, walkways, and exterior surfaces.
Timeline to hit peak demand
A clear plan keeps you on track for winter buyers and smooths out last-minute stress.
6–8 weeks before listing
- Meet with your listing agent and, if using, a professional stager to set scope and budget.
- Start repairs, paint touch-ups, and decluttering.
- Review HOA rules and confirm what is allowed for photos and signage.
3–4 weeks before listing
- Deep clean the home and clean carpets if needed.
- Declutter closets since buyers often look inside.
- Finalize any staging rentals and schedule professional photography and a virtual tour. Book a morning slot for best light when possible.
1–2 weeks before listing
- Complete staging installation and do a photo-day walkthrough.
- Shoot photos and any video. Choose morning or late afternoon based on your home’s orientation.
- Create an open house plan and a checklist for quick touch-ups between showings.
Photo day and listing presentation
Your photos are your first showing. Make them count.
- Hire a real estate photographer and request HDR images and wide-angle shots that use natural light.
- Lead your gallery with outdoor living and indoor-outdoor vignettes that Florida buyers prioritize.
- Consider one tasteful twilight exterior if you have attractive outdoor lighting.
- Add a floorplan and a virtual or 3D tour to help out-of-state buyers explore remotely.
Virtual vs. physical staging
Both can work, especially if you are balancing budget and timing.
- Virtual staging costs less for empty homes, but always disclose it and include at least one unedited photo of the empty room.
- Physical staging often creates stronger emotional connection. If you prioritize rooms, stage the living area, primary bedroom, and an outdoor seating area first.
Practical checks: HOA, safety, pets, and privacy
A few simple checks protect your timeline and your buyer’s experience.
- If you are in an HOA or planned community, verify rules around exterior decor, furniture on common areas, and signage before staging.
- Safety features like impact windows or shutters can be selling points. Keep them clean and visible in photos and marketing.
- Depersonalize by removing family photos, religious items, political materials, and extensive collections.
- For pets, eliminate odors, remove pet beds and heavily used items during showings, and keep pet areas tidy.
Stage for the Keys climate
Key West’s heat, humidity, and salt air call for smart material choices and simple maintenance.
- Choose breathable, easy-clean textiles and limit metal items that may corrode.
- Use durable, weather-resistant outdoor pieces you can remove or secure quickly if the forecast turns.
- Avoid open-flame decor during showings and keep outdoor styling minimal but inviting.
How to measure what works
Track how your staging performs so you can adjust fast if needed.
- Monitor days on market, weekly showings, and buyer feedback about presentation.
- Compare your offers and time-to-offer with nearby recent sales. Your agent can help you review comps and understand how staging influenced results.
Budget guidelines
Every dollar should work hard for you. Consider these tiers when planning.
- Low budget, under $500: deep clean, declutter, add fresh towels and bedding accents, paint touch-ups, and a couple of potted plants.
- Mid budget, $500–$2,500: hardware swaps, updated light fixtures, fresh paint in key rooms, professional cleaning, and partial furniture rental.
- Higher budget, above $2,500: full staging of main rooms, upgraded fixtures where needed, and a landscape refresh.
Final thoughts
When you stage with a light coastal touch, edit decor, and spotlight outdoor living, you meet buyer expectations for island life and make your photos work harder. With a clear timeline and a few smart upgrades, you can be show-ready for Midtown’s winter demand and present a home that feels effortless, bright, and well cared for.
Ready to align your staging plan with Midtown buyer expectations and your target timeline? Connect with Lori Langton for local guidance, vendor introductions, and a customized plan that fits your goals.
FAQs
How much should I budget for staging in Midtown Key West?
- Base your spend on your price band and competition, prioritizing repairs, curb appeal, and the living room, primary bedroom, and outdoor areas for the best return.
Will staging delay my winter listing timeline?
- Not if you plan ahead; installations typically take 1 to 3 days, and you can schedule photos within days after staging is complete.
Do I need to remove personal items before showings?
- Yes, depersonalize by removing photos, religious or political items, and collections so buyers can imagine their own lives in the home.
What should I do about pets during showings and photos?
- Eliminate odors, remove pet beds and heavily used items from view, and keep all pet areas clean and tidy on photo and showing days.
Is virtual staging a good option for a vacant Midtown home?
- It can be cost-effective, but always disclose virtual staging and include at least one unedited photo showing the actual empty space.
What outdoor staging holds up in the Keys climate?
- Use weather-resistant furniture, breathable textiles, and minimal metal accents; keep pieces easy to remove or secure if the weather changes.